 In Aciem
I finally bought a mail armor! Something from Deepeeka, nothing special about it. But I want to make it special, so why not quench hardening my brand new lorica hamata?
The Theory
It seems to be simple : just heat it until it gets red, and then put it on oil. The mail will take carbon from the oil, and change into a nice new black color. This would protect the armor from rust. Simpler than that? Impossible.
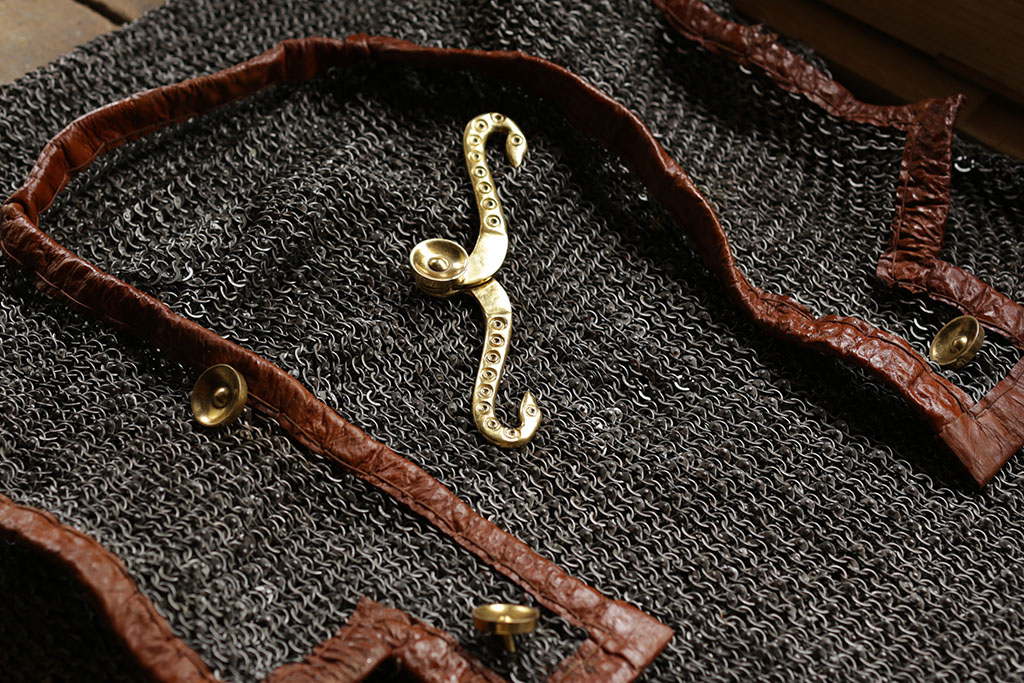
Deepeeka mail armor. Before.
The Armor : before
The new armor is completely oiled, right from India where Deepeeka produced it. They are specialized in doing items for reenactors from all time periods and items for Hollywood, american series and so on.

Glued leather. I don’t like this!
First thing to do, remove this leather (I will put a fantastic new yellow leather), and remove the hooks of the shoulders (I will change them also, maybe something in silver). The leather was glued to the iron of the mail armor. Maybe a way of secure the fixing of the leather onto the mail shirt? This is a cheap way of doing it of course, and not really historically correct. My new leather will be sewed with saddle stitch technique. This way, it will be strongly sewed, and it will be good.
Anyway, I just wanted from Deepeeka a mail armor, I don’t have the time to do it myself, I thank them for doing it. It’s a typical roman mail armor, like those found in archaeological excavations. It’s composed of two type of rings, some are riveted, and others are simple rings. They hold together in a 4 in 1 pattern, a style typically European. I have another roman mail armor, with butted rings, but it’s way to heavy! Add to this that for me, the archaeological findings of butted rings in mail armor are not conclusive for my Flavian period.
Preparations
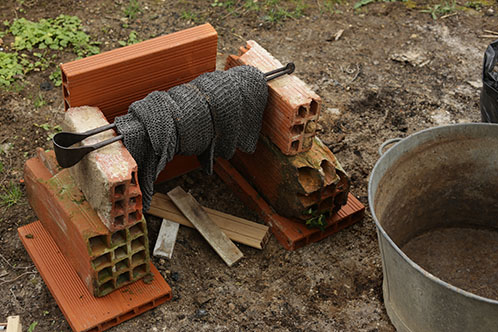
Preparing the “hoven”
After preparing the mail armor, it’s time to prepare the fireplace, where I will “cook”. Some nice bricks, some tools from home and that’s it. The main thing is the wood. I want my mail armor to get really hot, it has to get red! So what kind of wood do I have to use? Little bits that would burn quickly, or huge parts of wood? I’ll try both, it’s my first time doing this.
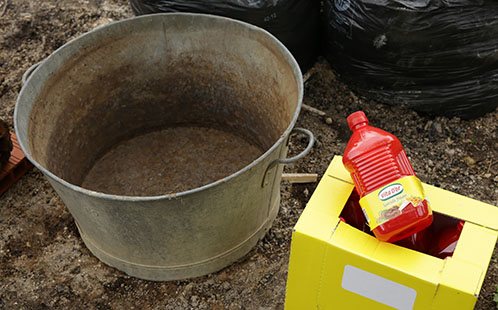
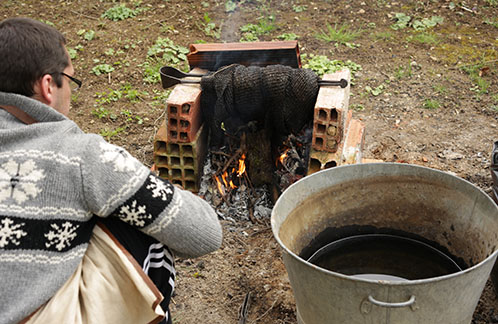
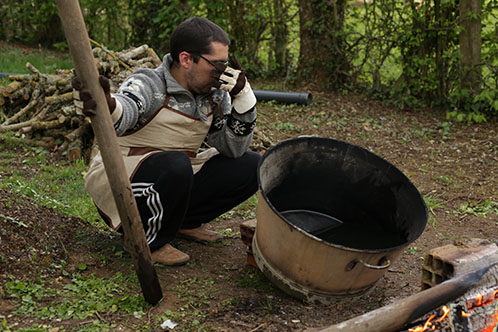
Galvanized recipient. Not really a good idea, it can be toxic, but that’s all what I have.
After the hoven, the oil. Let’s get a big metal recipient for the oil. My oil is really cheap. I have 12 liters of it (but I should have bought more…).
Let’s heat this thing!
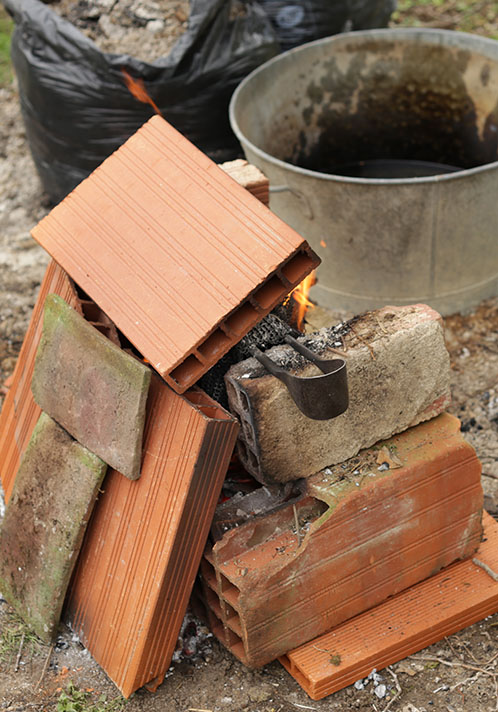
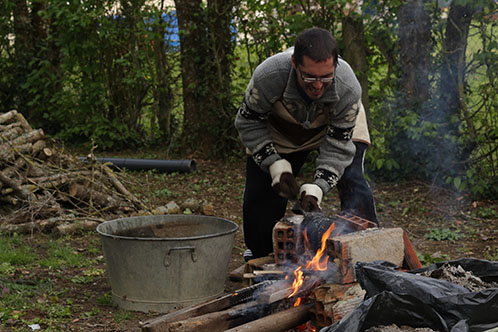
This is where I put to the test my theory. Everything is depending on these little 6mm iron rings getting red from the heating.
From behind, you can all see that my hoven is really home made…
It’s starting . Not really hot for now.
It’s a long process to get the good temperature. This is a totally empirical way of doing things.
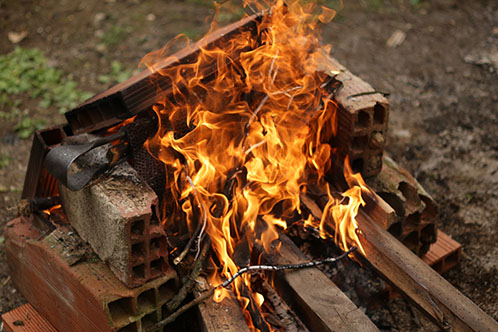
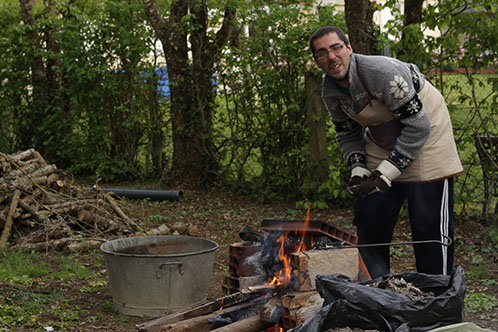
Now It’s getting serious. At this point, it’s hard to stand by next to it.
It was a lot of pain to heat this iron. My fireplace tool was bending from the weight (10 kilos) of the armor and the heat!
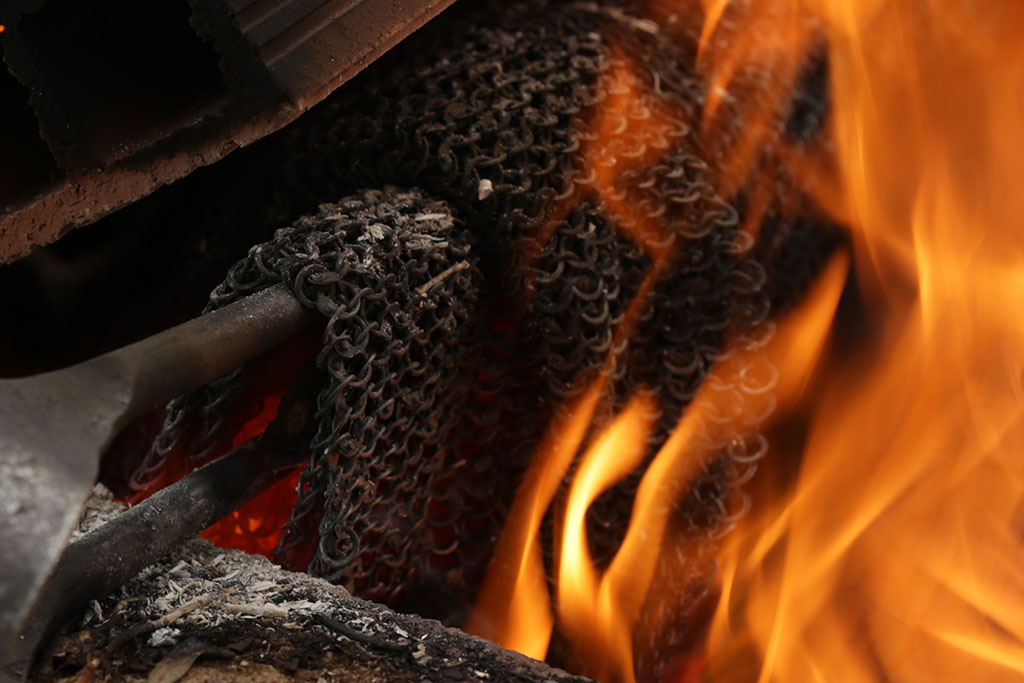
The rings are getting red!
Finally, some rings are getting red. Some more wood, some more heat, and it will be time to put the armor in the oil. It should be easy…
Oil
I used frying oil, bought at the hard discount supermarket of the town. 19 euros for 12 liters of it. You can go with sump oil also, maybe it’s better. It’s not an issue.
The armor is heavy. I’m preparing my tools to move it.
Heavier than I thought.
It’s hot, it’s heavy. I had a hard time to dip it into the bucket oil.
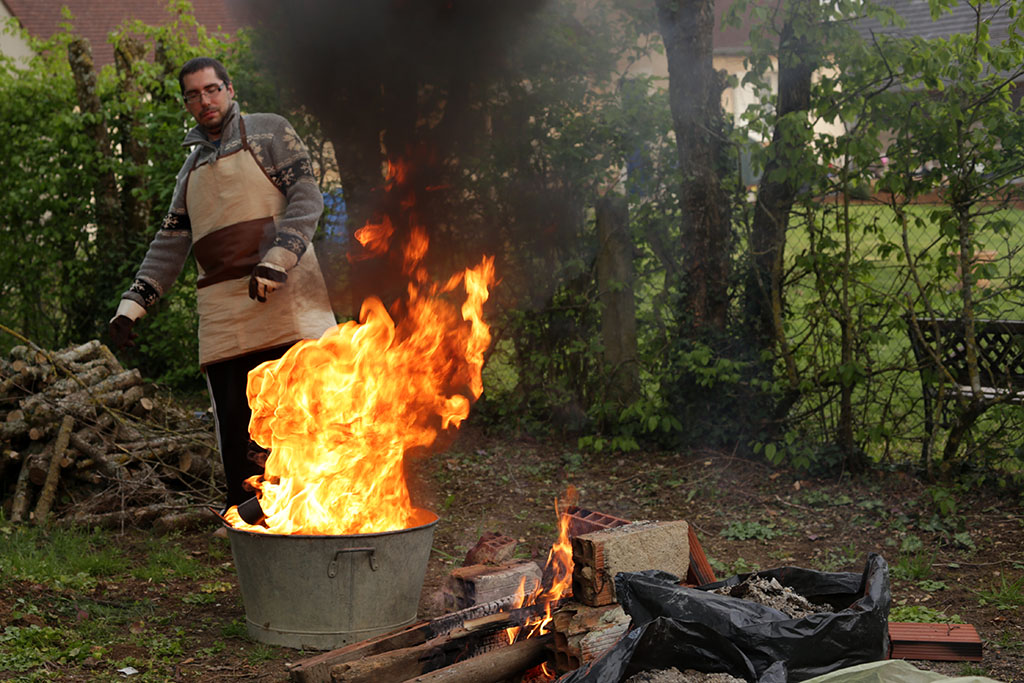
Oh. It’s burning.
Believe me or not, my wife didn’t want me to do that in our home fireplace. We struggled. I think she was right. Anyway, I was a little bit surprised by the height of the flames.

Moving the mail armor inside the oil bucket.
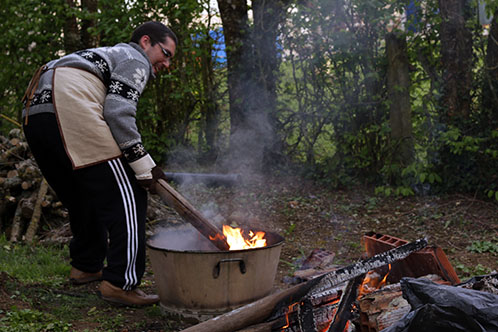
It wasn’t supposed to burn…
By stirring it, I managed to stop the flames. The mail armor can now have a rest and get all the carbon that it needs to get black.
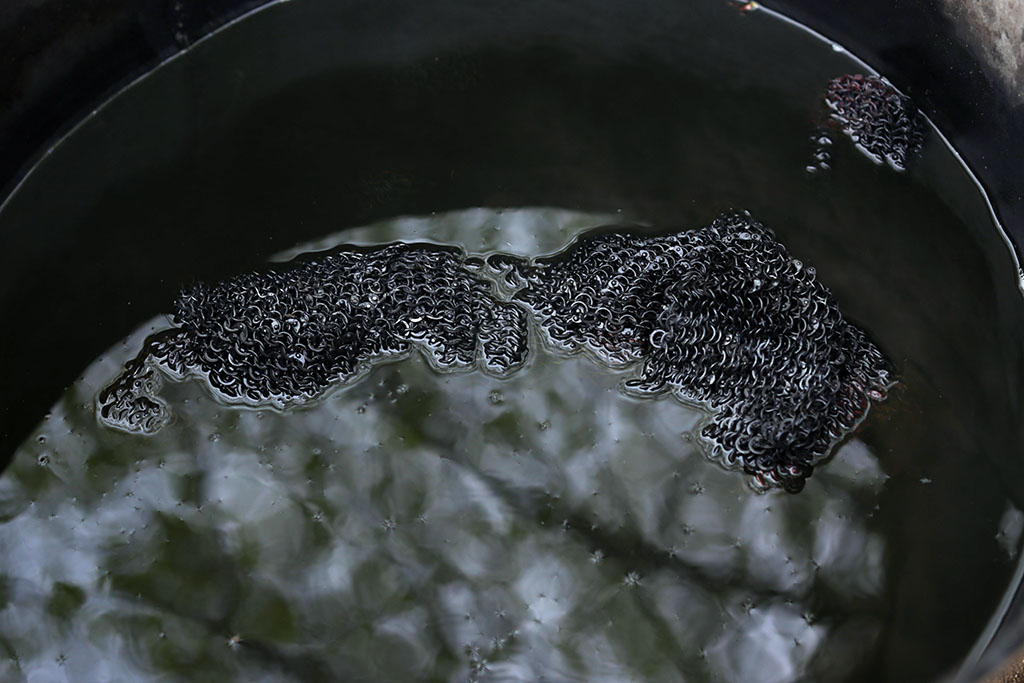
blackening process.
That’s why I needed more oil.
The result
It looks good. It looks black.
Now, will this black stay with time?
Would it resist to the rust?
Did all the rings kept their round shape?
Are the rings still strong after this treatment?
Will I have to do all that again?
So many questions!
I’m not sure if my new mail armor can take a violent hit from a Dacian falx or a German sword.
Hopefully I will never know…
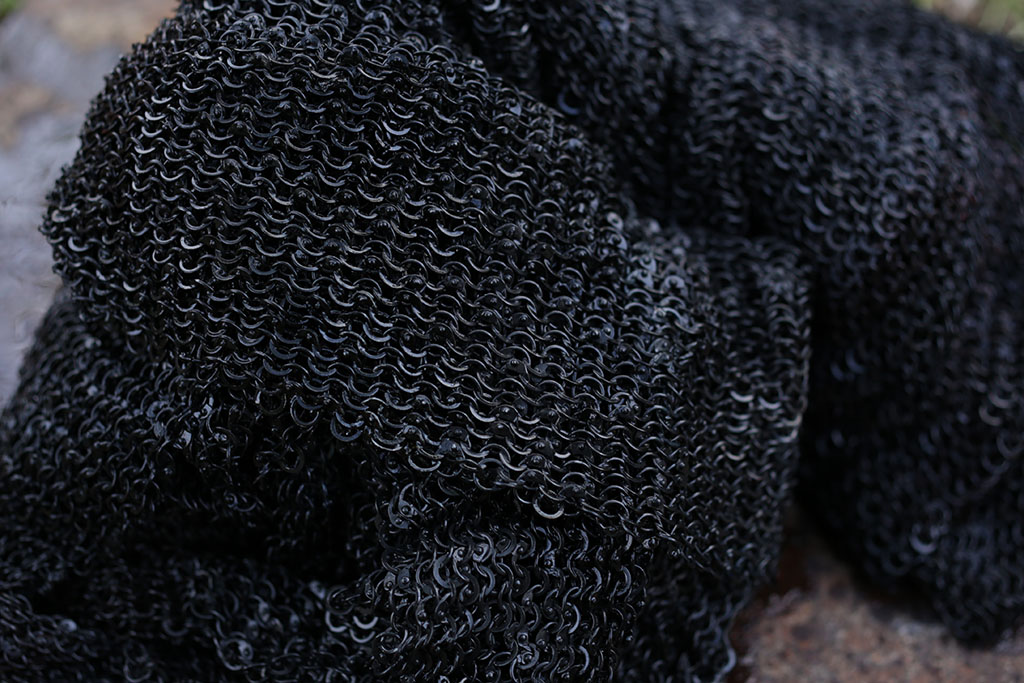
Final result.
Next step : leather.
To be continued…
Very brave of you…I hope it all turns out well.
It looks good :) Thanks!
Obrigadissimo. E realmente bom, o seu site.
Peder
Actually, I don’t know if that’s a great idea. Don’t know about early sources, but I do remember some instances of glimmering armor in texts, and Ammianus in the 4th century explicitly supports polished armor.